Airbrush 101

|
 |
The content on this page was created by Lisa Snyder and is used by permission. Check out her blog at
www.thebearfootbaker.com
|
I promised you I would show you how to use an airbrush gun so here we go! We are going to start with the basics today. Are you ready? Hold on, here we go!
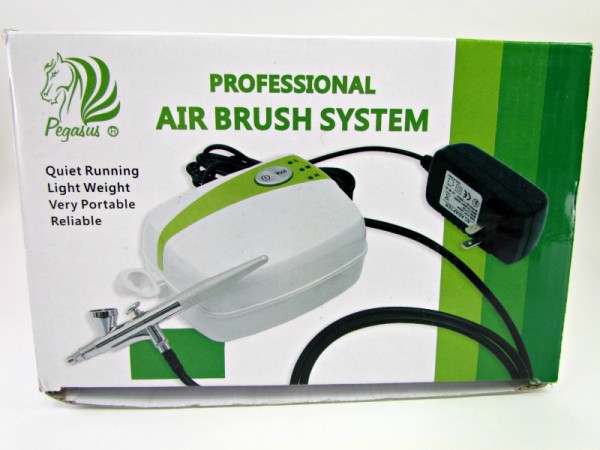
Meet Wendy! Wendy is my friend. When you look at her from the outside she seems complicated! I ordered her at Karen's Cookies only after I saw a demo by my friend Marlyn aka
Montreal Confections. She makes some amazing things with hers! She also made some beautiful things that day but what amazed me most is how easy it was to use and clean the airbrush gun. She totally blew my mind and I ordered one for myself right away and named her Wendy!
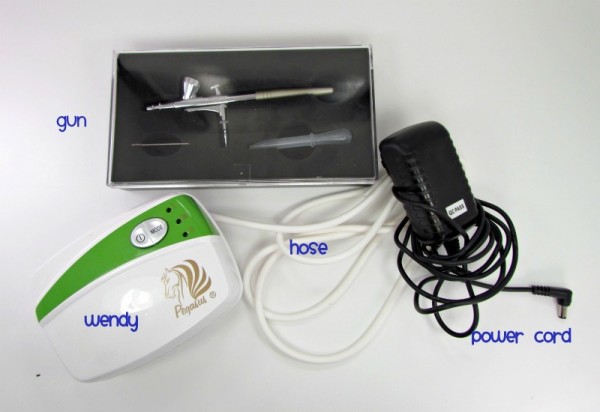
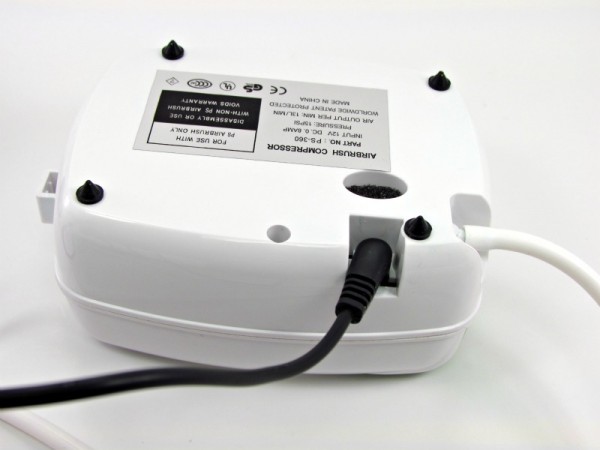
Here is what is inside the box (there was some other things that I am not sure how to use but I will figure it out one day). It comes with a nice little case to keep the gun in. The gun is the part that you need to take care of. You don't want to break it so when you are not using it place it back in there. The gun is Wendy's brain! Protect it!
Start with the assembly. First, plug one end of the rubber tube into Wendy.
Plug the other end into the gun.
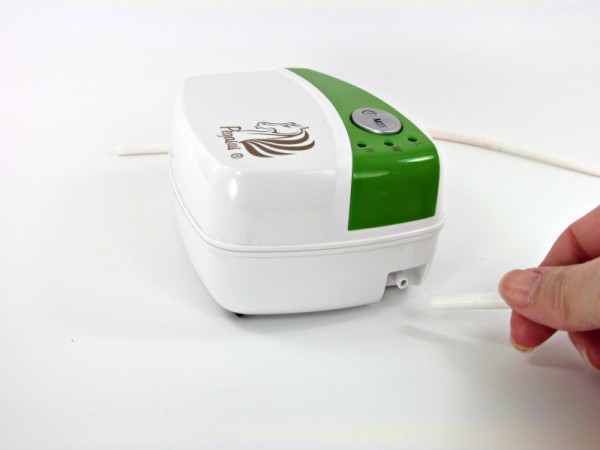
Now plug the power cord into Wendy. Then plug it into an outlet.
The button with the circle and the line at the top is the on/off button. The other 3 buttons are the mode buttons which controls how fast the air comes out. It has high, medium and low. I use low a lot.
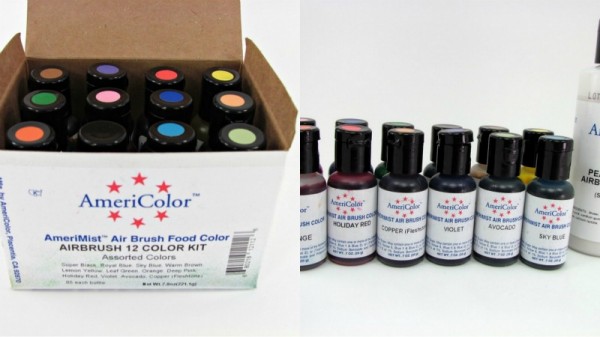
Before you can airbrush something you need to pick a color. I ordered my colors with the gun and I got the Airbrush 12 Color Kit! I was so happy! I also got the Pearl Sheen. The Pearl is beautiful and I will show you more on that this week.
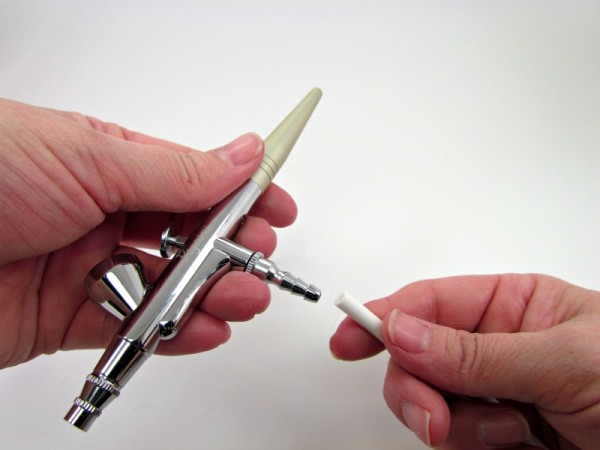
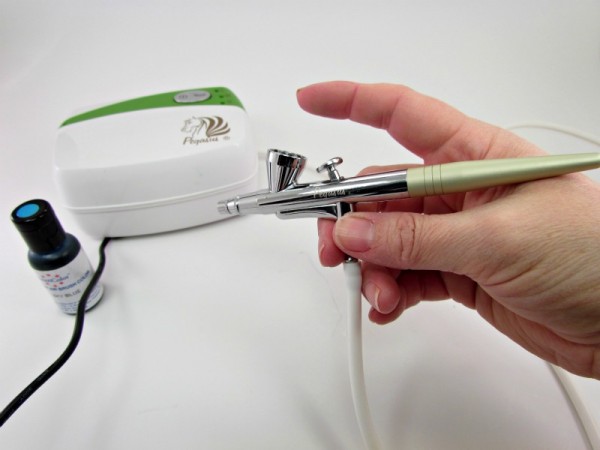
The trigger on the top of the gun is how you spray. The farther you pull it back the more color comes out. I am not going to spray anything tonight. This is Airbrush 101 and we will get to the fun stuff this week. I just want you to see how it works so you can decide if you want one for yourself or not. It is an investment so before you buy remember, knowledge is power!
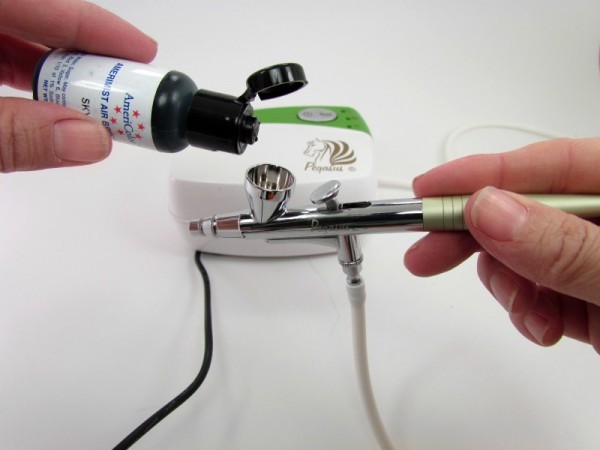
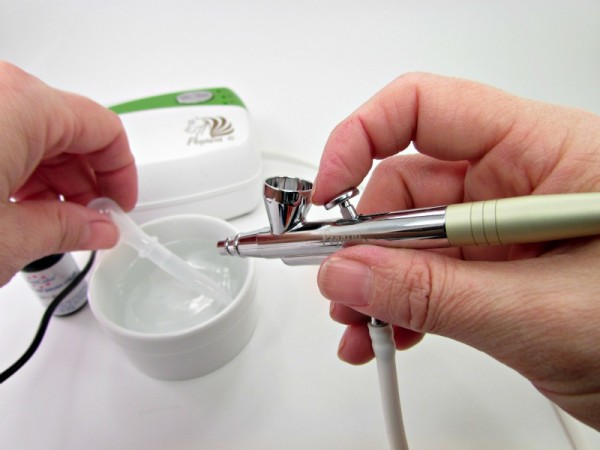
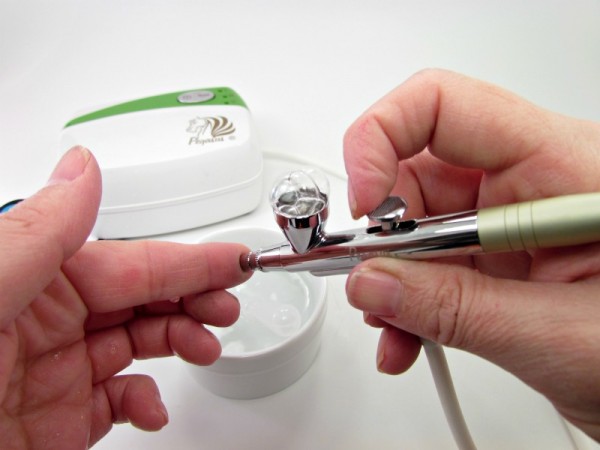
Look how easy it is to get the color in. Just a few drops go a LONG way! Then you are ready to spray your cookie. More on that later.
Now, Wendy needs a good bath and Marlyn taught me to do this over the sink and she is BRILLIANT! I wish cleaning the icing tips were this easy! See the little squeeze dropper? Fill it with water. Then, put it into the gun and spray into the sink until the water comes out clear. You may have to fill it up a time or two but it is kinda fun to watch the colors fade.
This is the fun part. Put your finger over the tip and pull back on the trigger. This will clean the inside of the gun and make some fun bubbles! See them! Then move your finger and spray the rest of the water out of it and it is all clean!! How easy was that!!!
When you are done, put it back in the box until you are ready to use it again.
There you have it! How to use your airbrush gun. I have said it before and I will say it again, we will have fun using this all week long!
|
|
|
The content on this page was created by Lisa Snyder and is used by permission. Check out her blog at
www.thebearfootbaker.com
|
For a video on maintaining, troubleshooting, and cleaning the needle and trigger, click here.