Bake a batch of cookies using one of our
recipes or your own. For every 3 dozen snowflake cookies, make a batch of frosting using one of our
frosting recipes.
Tint all frosting white using several drops of Bright White food coloring. Divide in half, leaving half of it white, and making the other half pastel blue by adding a drop of royal blue food coloring.
Prepare two disposable decorating bags, inserting a #2 tip into each one. Fill one bag with one-third of the white frosting and fill the other bag with one-third of the blue frosting. Close both bags securely with rubber bands.
Turn remaining white and blue frostings into glaze by adding water a few drops at a time, until it is a thin consistency. A few drops of glaze should
disappear into the mass by the count of 6 or 7.
Sugaring the Background
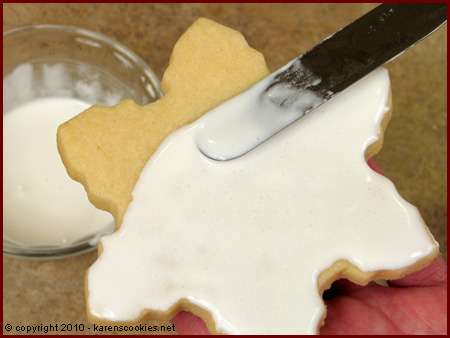
To sugar the background of the snowflake, choose either blue or white glaze and cover surface of cookie completely. While glaze is still wet, quickly move on to step 2.
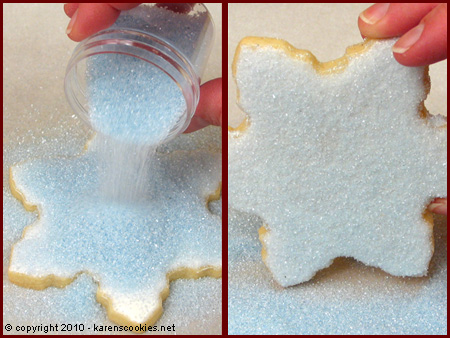
Place cookie on parchment or wax paper. Choose a color of sanding sugar and pour it over entire surface of cookie. Tap off excess sugar.
Sugaring the Piping
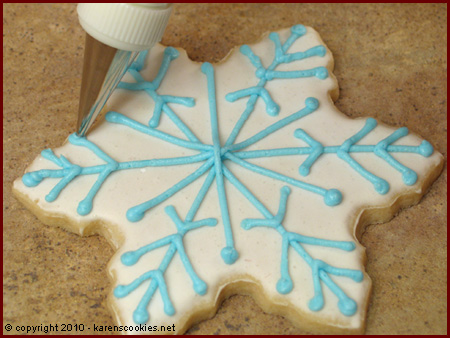
Glaze cookie with desired color, and allow to dry for several hours or overnight. Choose color of piping, and pipe chosen design on cookie. While piping is still wet, quickly move on to step 2.

Place cookie on parchment or wax paper. Choose a color of sanding sugar and pour it over entire
surface of cookie. Tap off excess sugar. Use brush to remove sugar between the piping.
 NOTE:
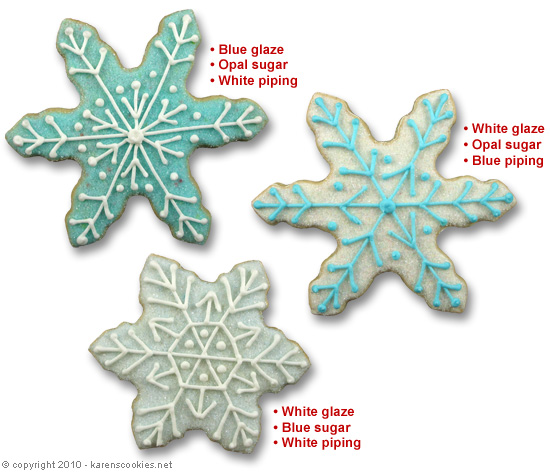
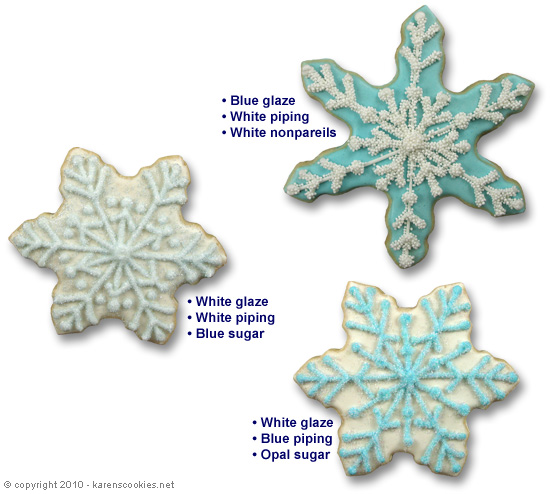
NOTE: While there is no "right" or "wrong" way to decorate any cookie, this holds especially true for these snowflakes. Snowflakes are fun to do since there are endless designs you can create. In these instructions I will show you some basics and then give examples of various methods that I like to use. You can use the specific designs you see here, or be creative and come up with your own.
Have fun!